How to make Sauerkraut
Sauerkraut is an essential part of Czech cuisine, and one that's nigh impossible to substitute for. It's a pro-biotic, but perhaps more important historically, very rich in vitamin C, and it keeps for very long time without refrigeration. I had a first go a making sauerkraut some 25 years ago in my early days in Scotland, without understanding the process (and before one could readily find information on the internet), and it didn't work. I have had another go last September, and we have eaten over 40kg of the stuff since. Turns out, it's really simple to make if you know how.
Tools
- A suitable fermentation vessel (more below), about 1l per 800g of chopped cabbage,
- A basin for mixing (about 3l volume per 1kg of chopped cabbage),
- Stainless steel potato masher and / or wooden thumper,
- Clean hands.
The fermentation vessel doesn't have to be anything more than a glass pickle jar. In the old days sauerkraut would have been made in wooden cylindrical barrels with a floating wooden lid, held down by a heavy stone. Nowadays it is possible to buy all sorts of purpose made, overpriced, fermentation vessels, that usually promise keeping your cabbage in sterile environment to justify the outlay -- that's just marketing BS. Fermentation is not a sterile process, it's simply a question of controlling which biological processes take place, and with sauerkraut this is done entirely by salinity, acidity and temperature control.
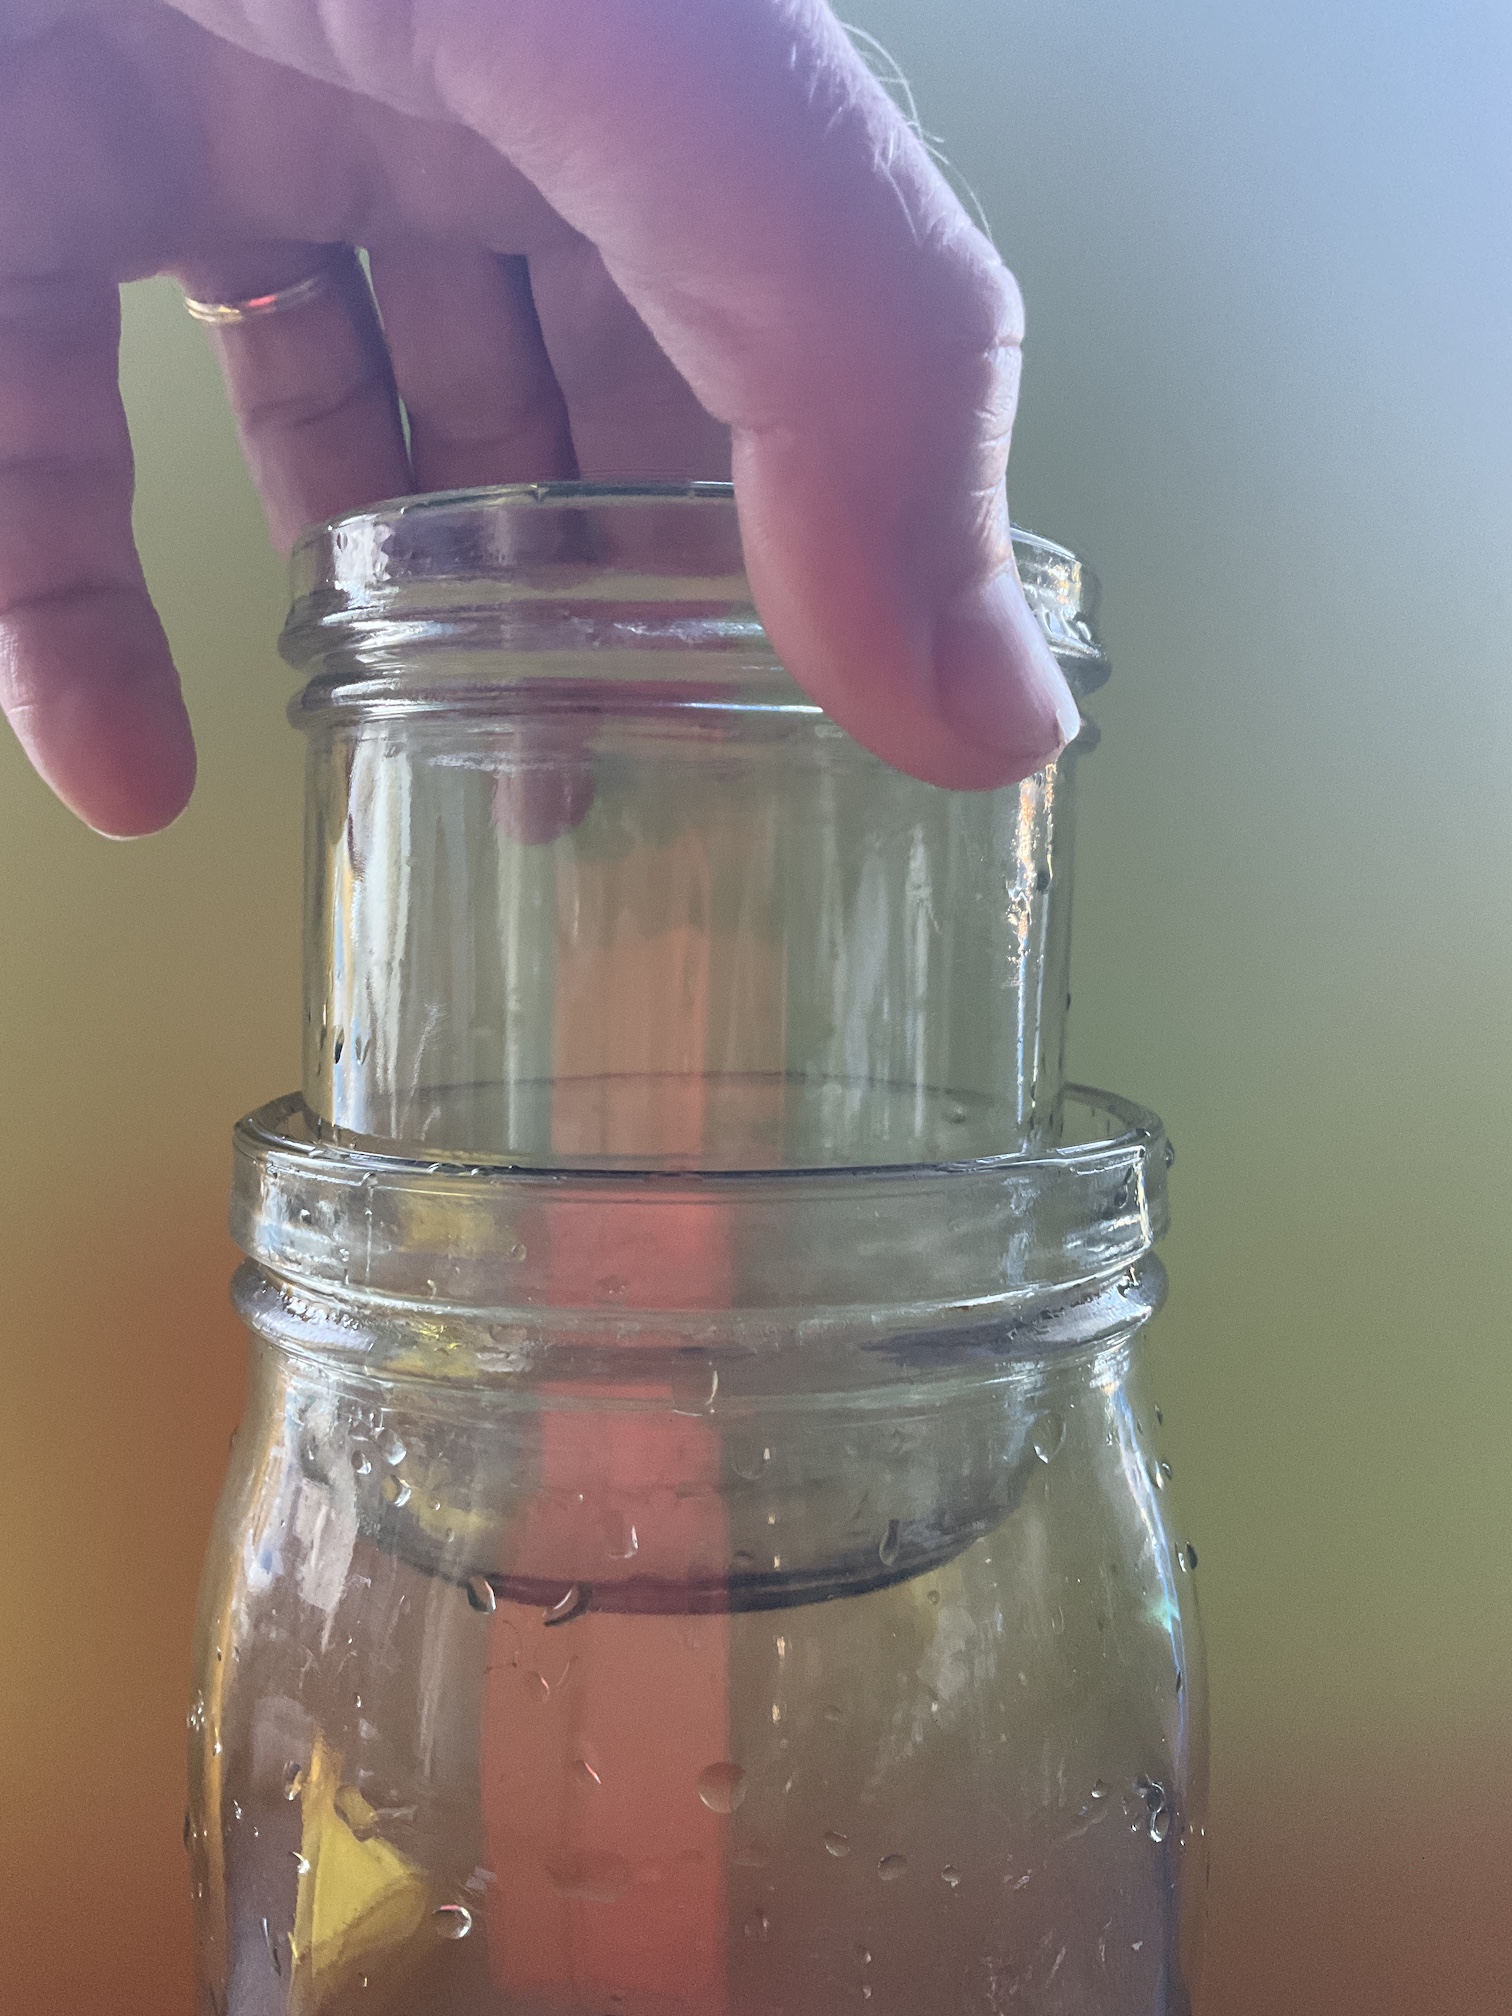
What we need to achieve for sauerkraut is anaerobic lactic fermentation, and that requires that all of the cabbage is held below the surface of the liquid. When doing a small quantity, a simple option is to use a larger, say 1l pickle jar, and then a smaller jar or drinking glass that fits snugly through the opening. The smaller jar is then weighed down suitably. I don't use this setup, but you get the idea:
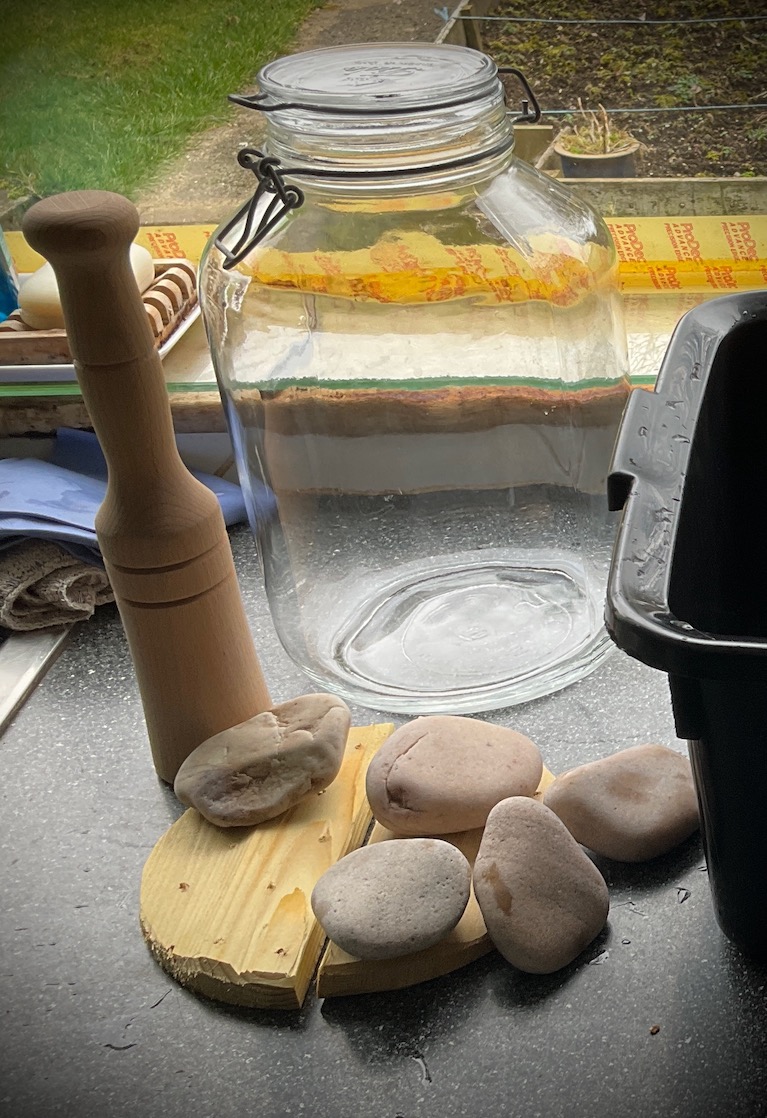
I use 5l pickle jar with a wooden board weighed down by some stones. The jar has an inner diameter just touch smaller than double of diameter of the opening, which allows two semicircular boards to be inserted. Obviously, when using this setup, the boards need to be clean, and untreated, and the stones must be inert to acid (quartz or such, and should be as flat as possible).
Ingredience
- White cabbage,
- Salt,
- Caraway seed (optional)
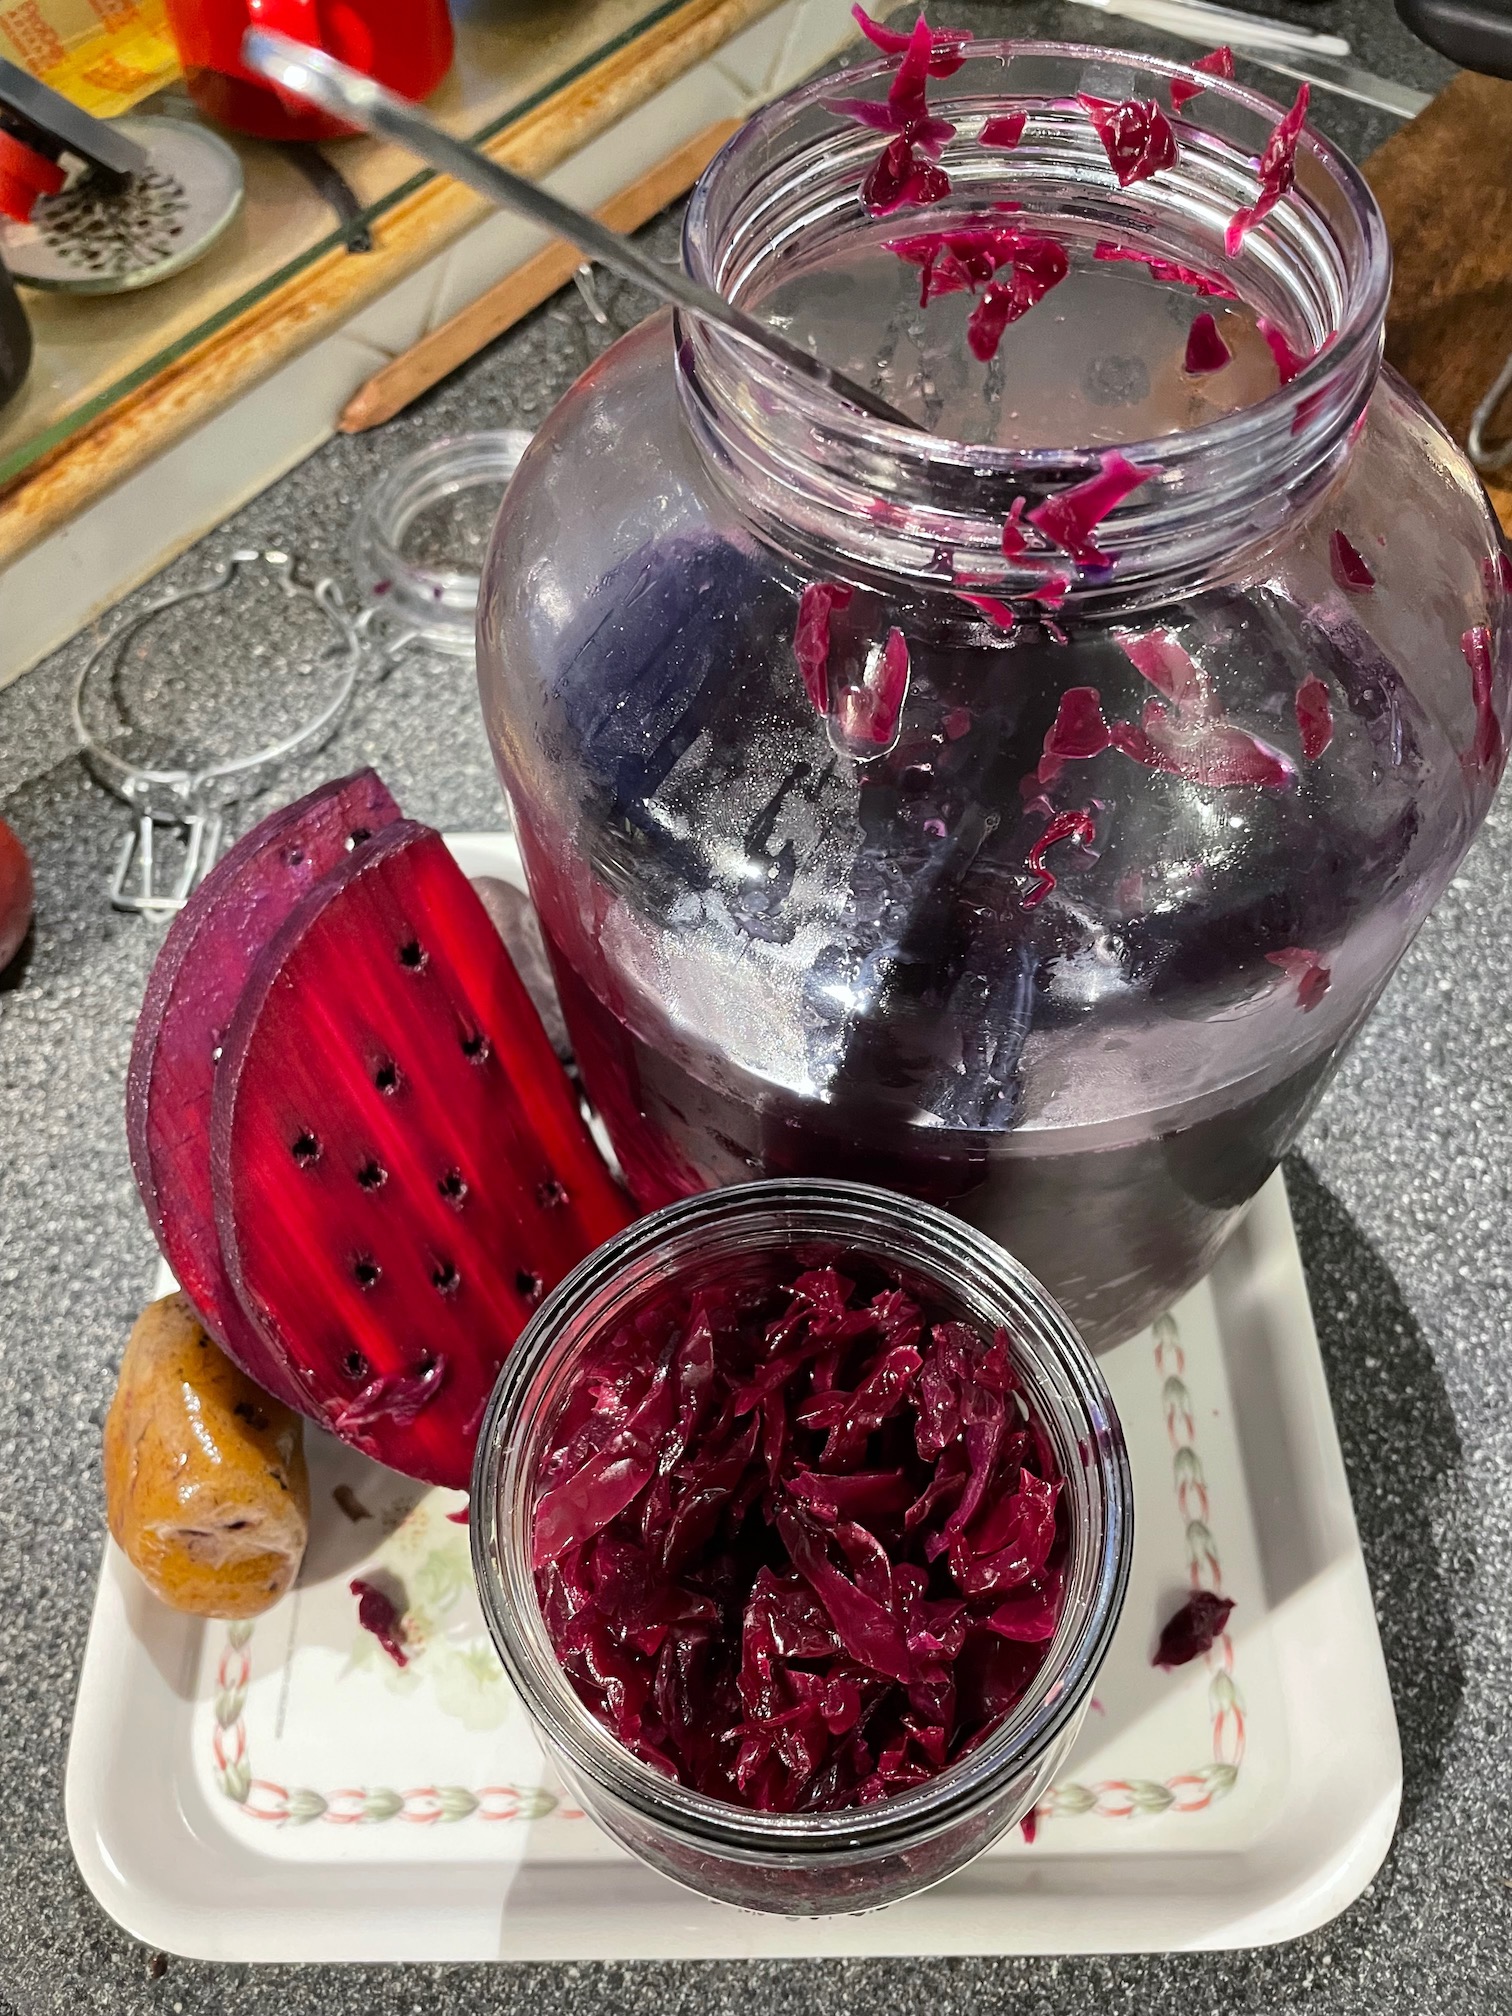
Note: it is possible to make sauerkraut from red cabbage, it tastes slightly differently, but most importantly, it's incredibly messy, you have been warned:
The process
Sterilise your tools and jars by pouring boiling water over them. If you using boards and stones, these should be boiled for at least 10-15min. But everything should be allowed to cool down before the cabbage goes in.
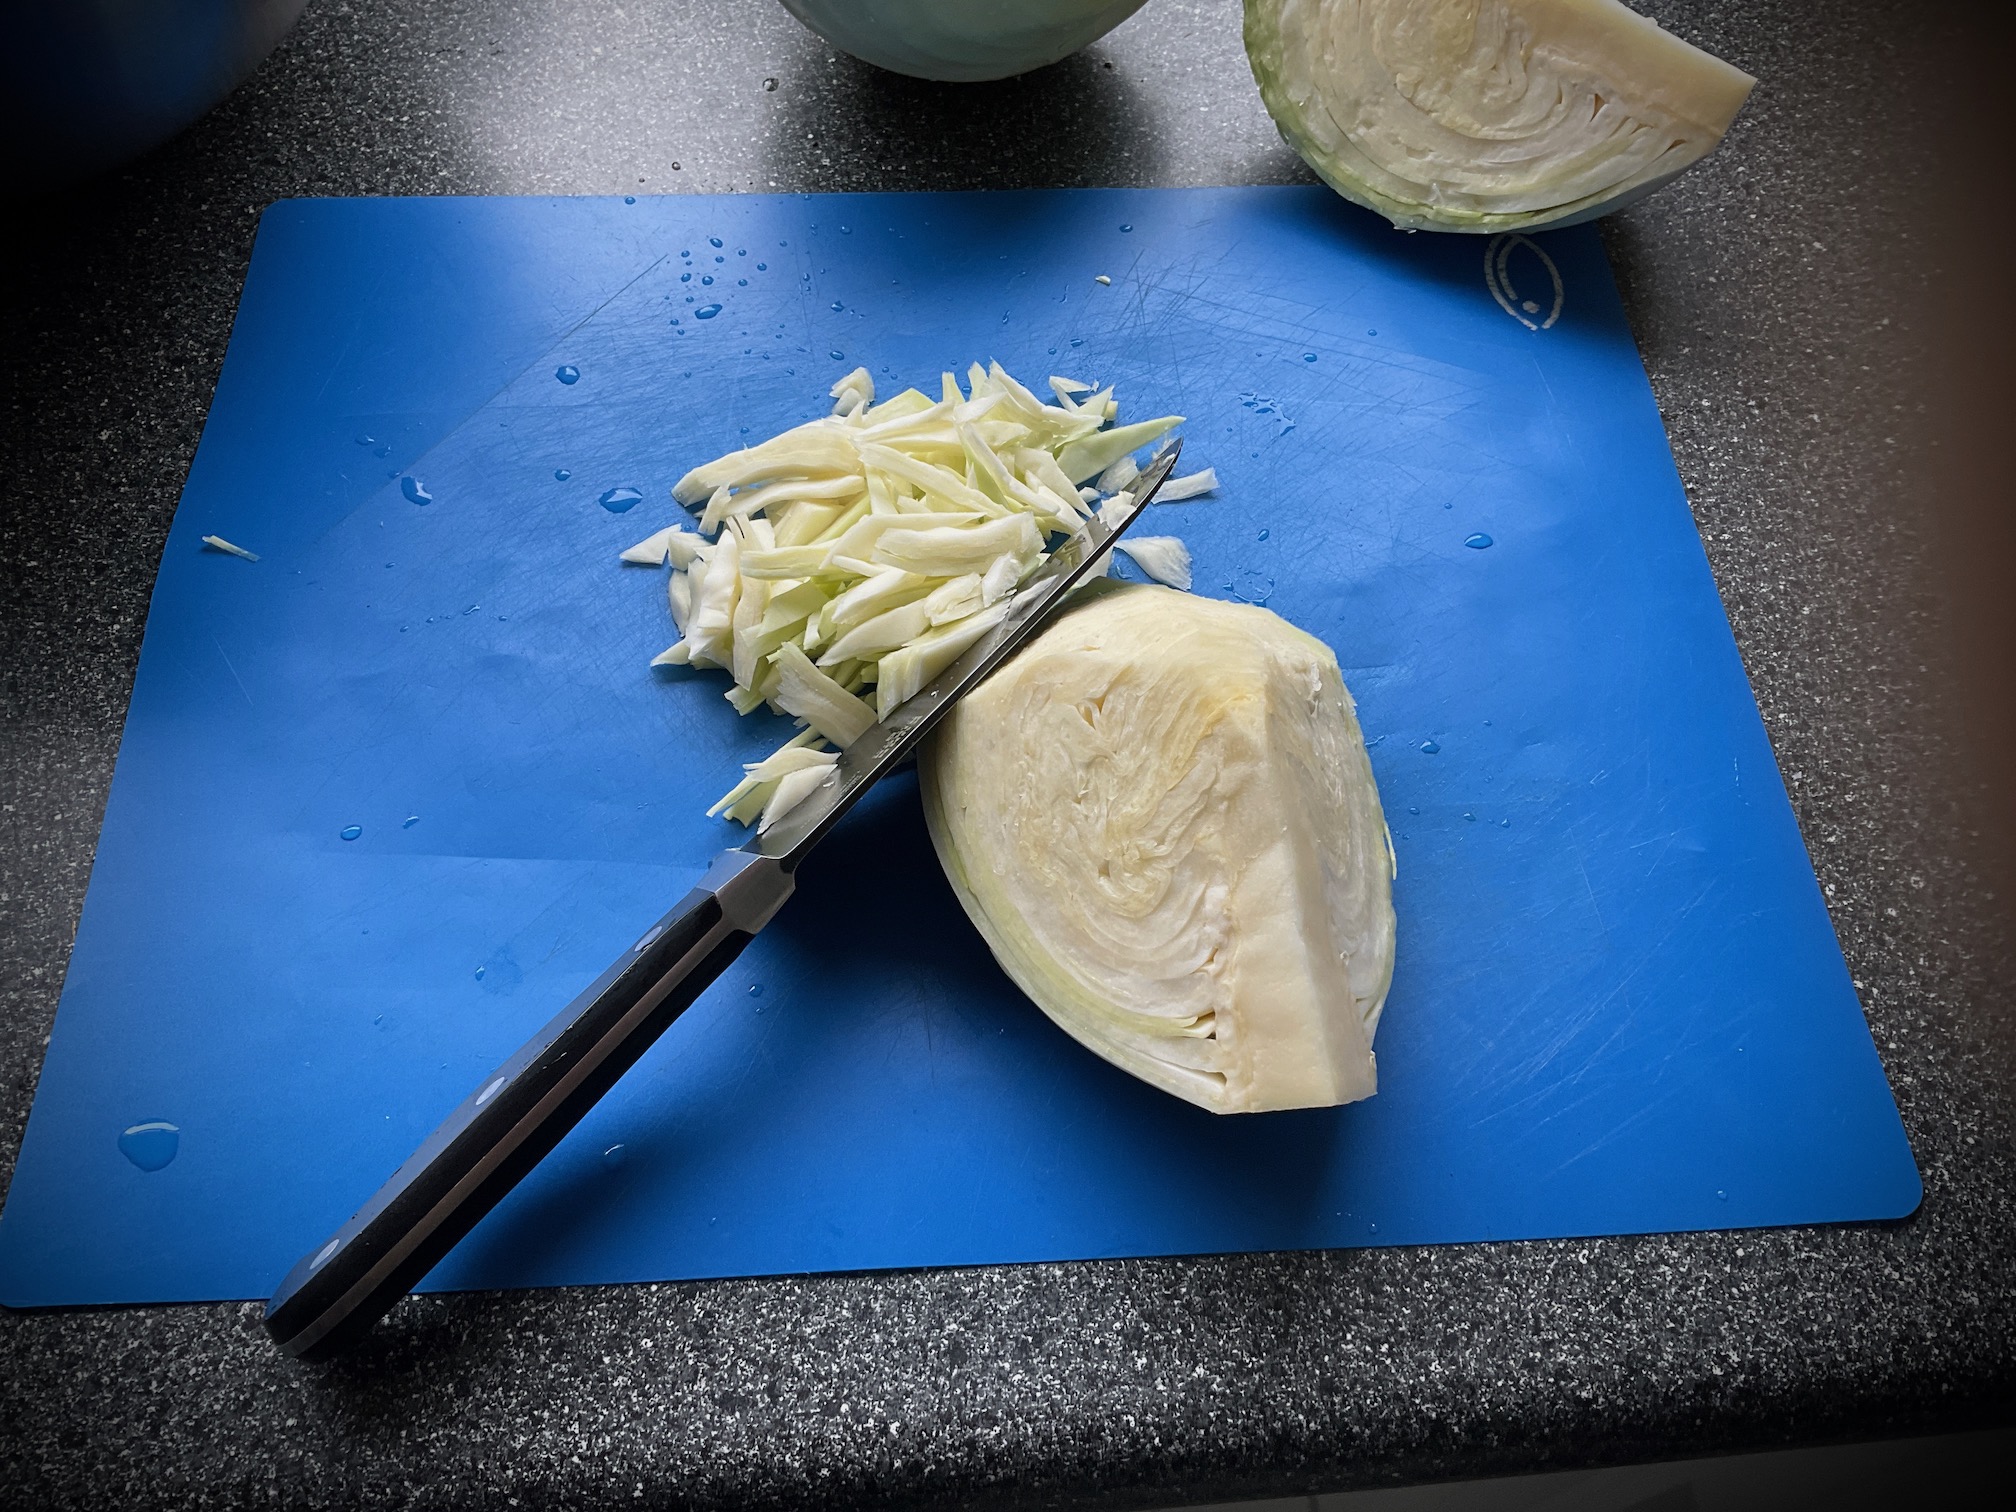
Peel the outer leaves of the cabbage and discard, wash the remaining head and quarter it, then chop it to thin strips, across the edges; discard the hard core:
- Weigh the chopped cabbage, then put it into the basin. Add 20g of salt per 1kg of cabbage and, if using, the caraway (about ~ 1/2 teaspoon per 1kg of cabbage, don't over do it).
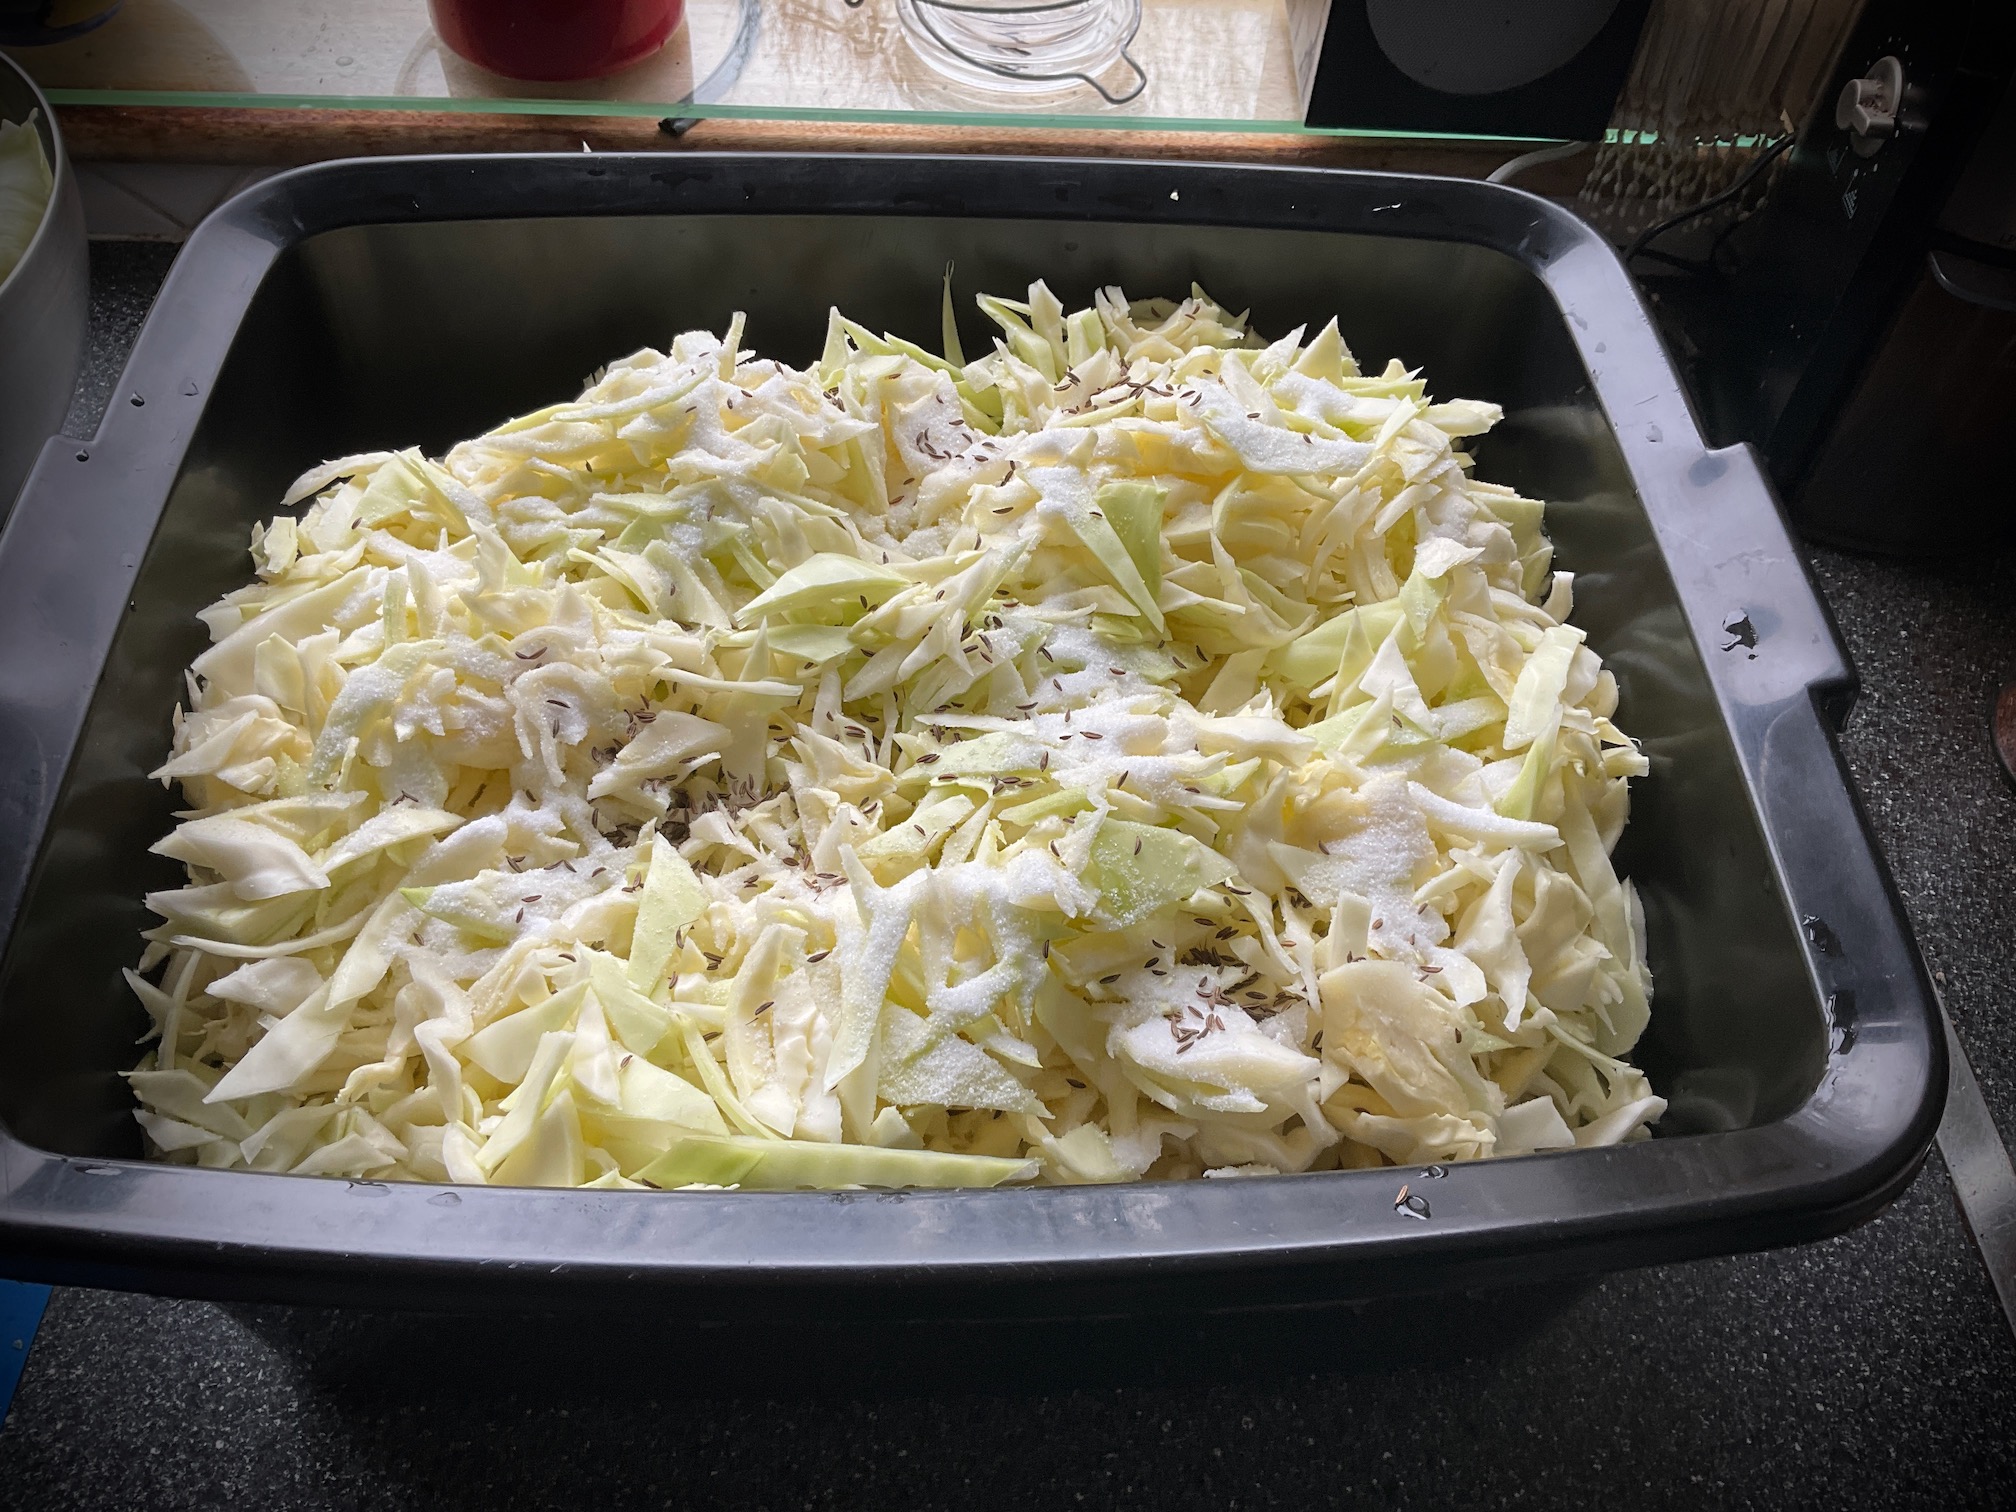
Stir the salt in using your hands or a wooden spoon, then let it sit for about 10min to allow the salt to dissolve, as this makes it easier to work with.
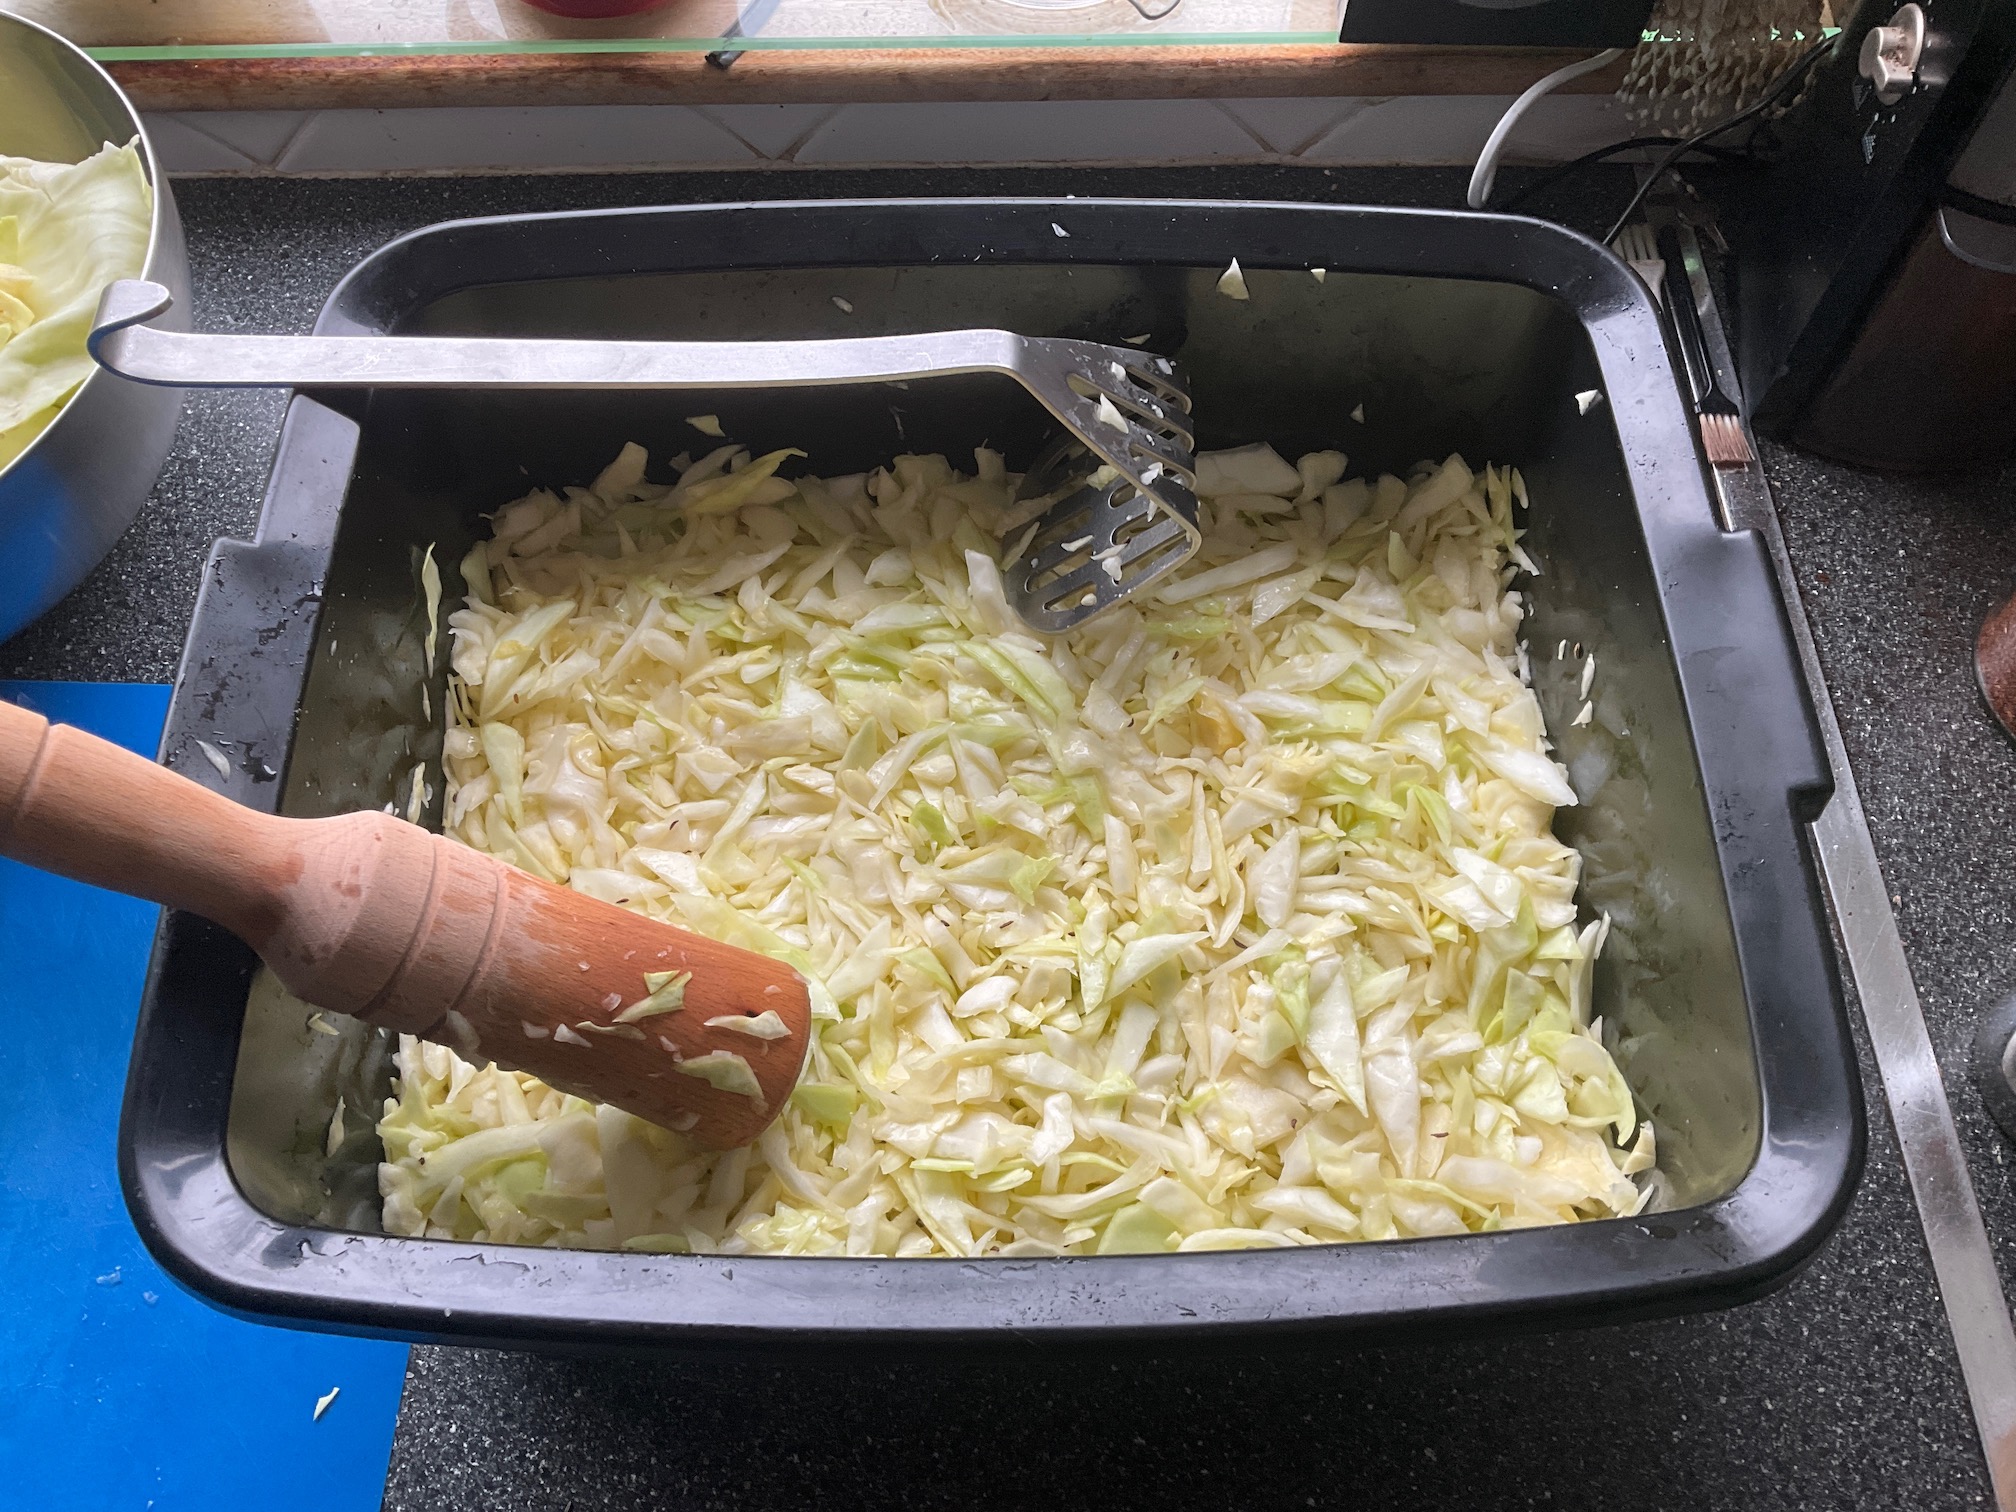
Now thoroughly work the salt into the cabbage, traditionally this would have been done by treading it like wine, but using clean hands is fine. Give the cabbage good hard squeeze, the objective is to bruise it, so that in combination with the salt it lets water out (bashing it with potato masher works too). Compact it down, cover it up and let it sit for about 30min.
- Repeat step 4, until the cabbage lets out enough water. This takes 3-5 hours depending on the cabbage (less when it's younger, longer when it's older). Enough means there is plenty of fluid at the bottom of the basin when you squeeze it down the liquid covers up the cabbage:
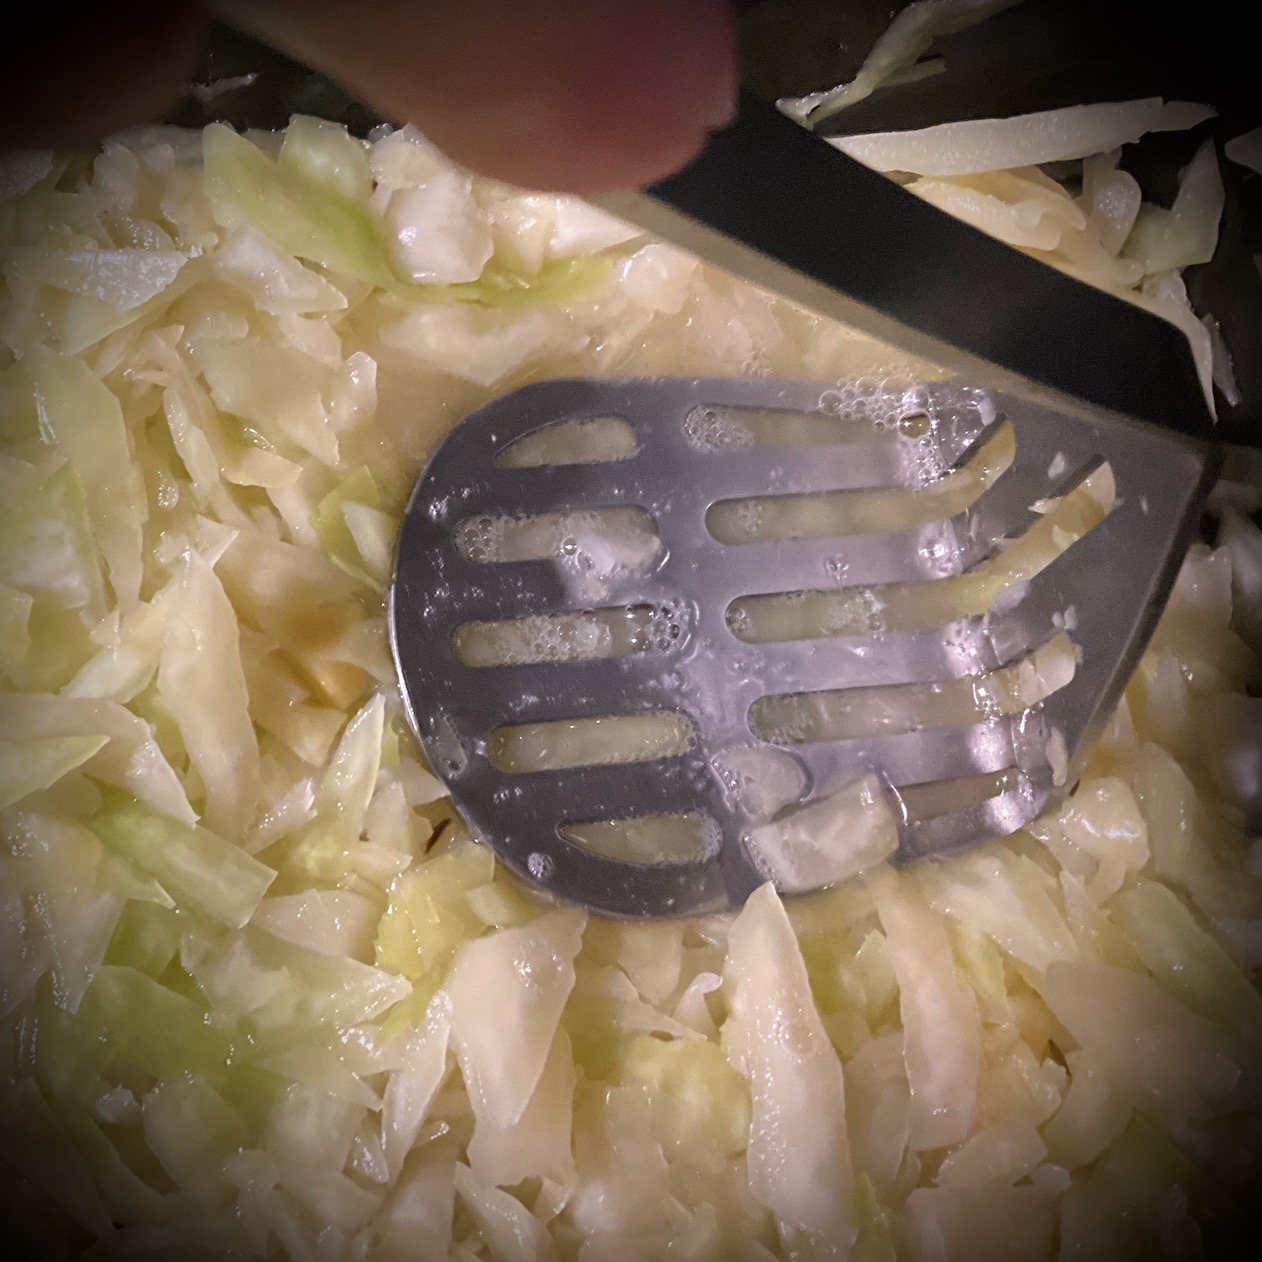
If the cabbage is not letting out water, it's because it's not been worked hard enough.
- Move the cabbage into the jar, using a suitable spoon, about an inch at a time, make sure to spoon in plenty of the liquid at the start. Compact it well using either a fist or a suitable tool. The objective is to squeeze out all the air. This is the most critical part of the job, if there is air left in among the cabbage, it will go off, we are aiming for anaerobic fermentation.
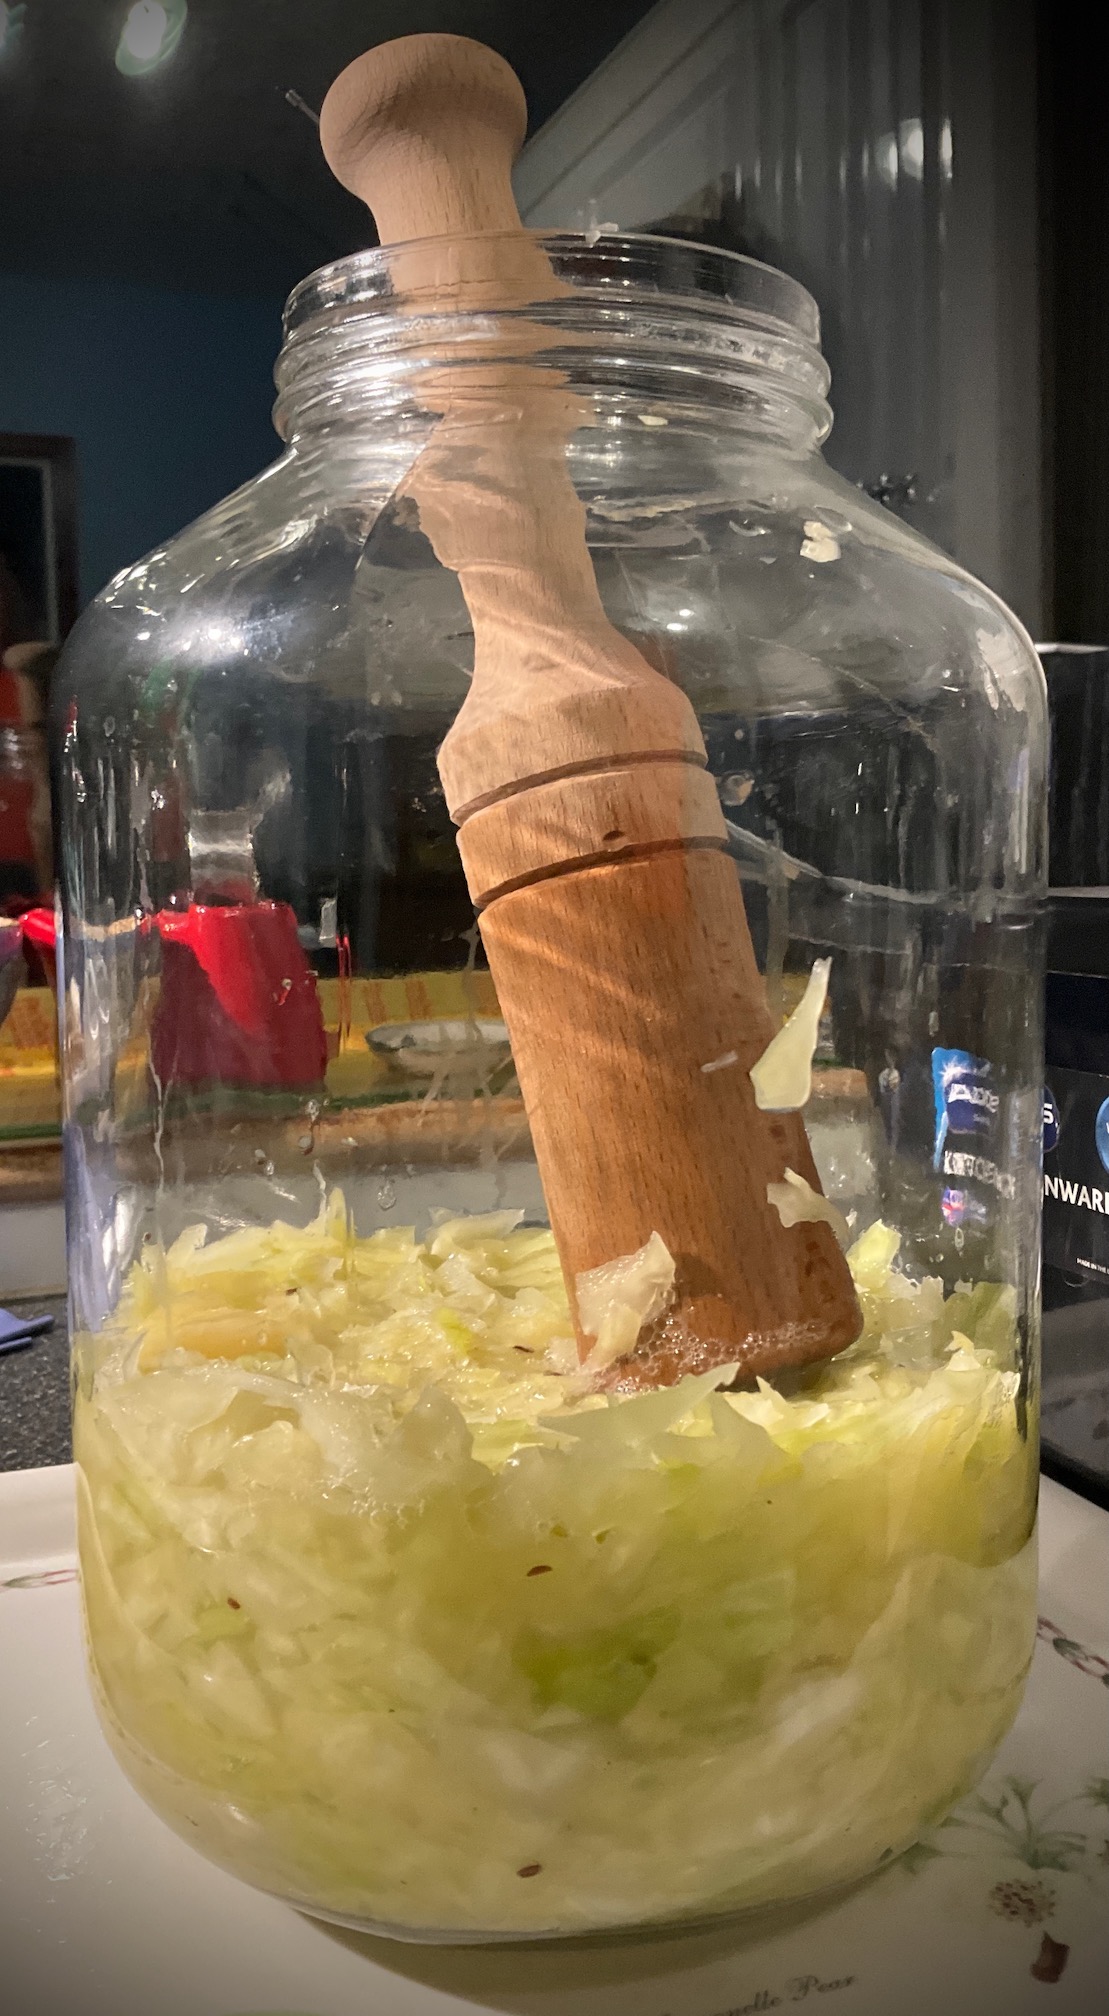
- When all the cabbage is in, press it down with the inner jar, or the wooden boards & stones, or whatever technique you are using. All of the cabbage (and when using wooden board and stones also the board and stones must be below the surface of the liquid. Any bits of cabbage that float above need to be removed, to stop it going off.
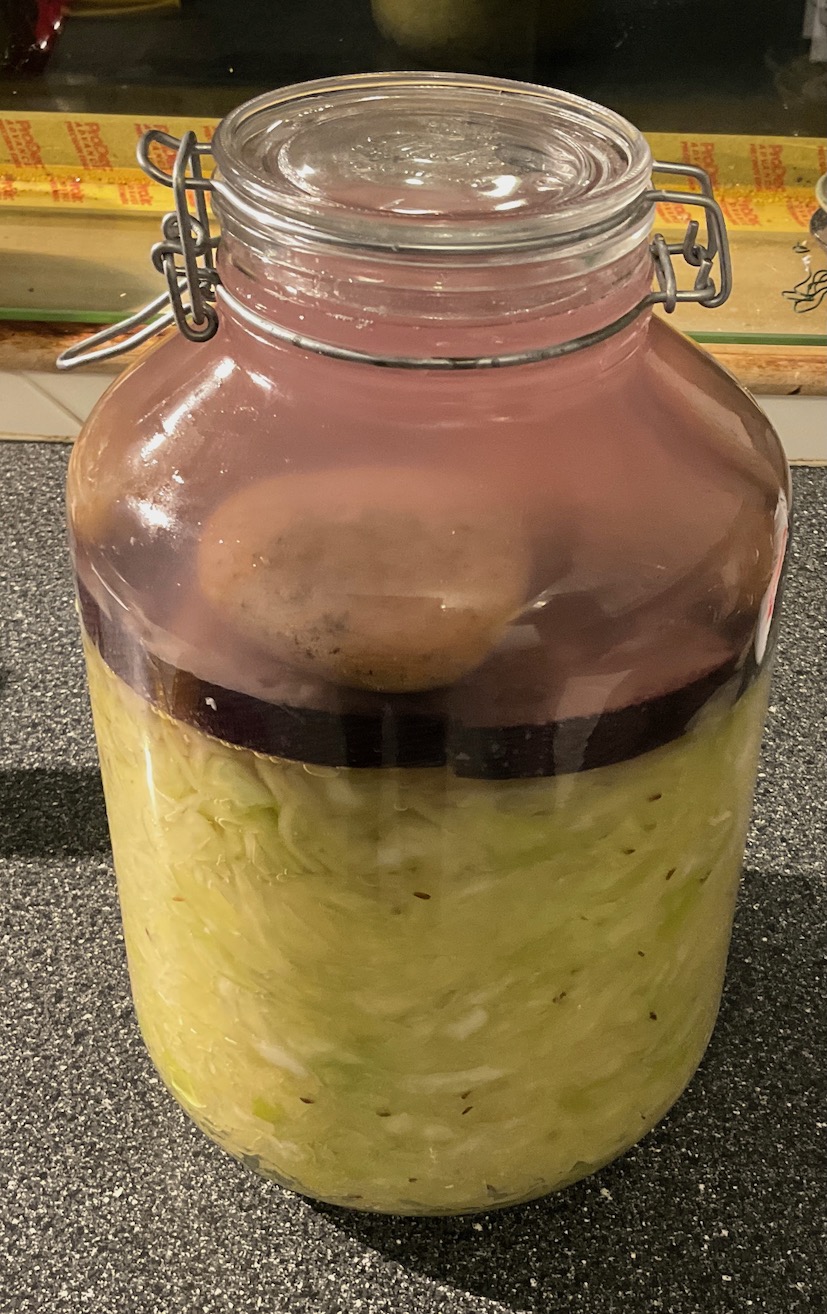
(The boards in the above jar were previously used with red cabbage, and are leaching the colour, hence the pink tone.)
If you are using the boards and stones system, it is possible there will not be enough of the liquid to cover it all. In that case top it up with a brine (20g salt / 1l), boil the water first, but make sure the solution is cool before it goes in (I make a litre or so day in advance just in case).
Put the jar onto a tray or into a pot to capture any fluid that will overflow once the fermentation starts, and leave it somewhere out of direct sunlight at room temperature (I cover mine with an old black t-shirt, to keep it in the dark, and to keep any stuff getting in -- note there is no rubber seal on the lid, the jar needs to breeze).
The fermentation typically starts in 12-48 hours depending on the cabbage and temperature. Scoop off any of the foam that forms, and should any bits of cabbage float up to the surface, fish them out.
At this point the jar is best moved to a cool dark place (I keep mine in the garage). The temperature has impact on the flavour, I like best the winter sauerkraut that fermented at about 5C, but that said, it will work perfectly fine at room temperature as well.
Initially you need to check on the jar every day, removing any foam, and any floating bits. You might have to top up the liquid with brine (as mentioned above) when the temperature drops.
The fermentation will slow down after a week so or, and from there on, I only check on it every week or even two. After about 3 weeks the cabbage is fully fermented. At this point the acidity is enough to keep it in a good condition for many months without being refrigerated. (While it is best to keep it cool, mine survived the summer heatwave in over 20C without issues.)
I find the optimal fermentation time for flavour is about 3 months, so I keep three to four 5l jars on the go at any given time, but you can start eating after about a week.
Taking the Cabbage Out
When taking cabbage out of a large batch, use a slotted spoon to keep as much of the liquid in the original jar as possible. I take about 1l at a time, and keep this in the fridge. If you take too much of the liquid out, you will have to top it up with brine, but this reduces the acidity, which is the main thing what keeps it from going off. Also, when toping it up, always make sure the brine is not warm.
Kham Yeast
Khan yeast is white bacterial culture that can form on the top of the liquid. It has a powdery appearance, and is harmless, however it should be scooped off as if it's allowed to get out of hand, it will spoil the flavour. It is caused lack of acidity, salinity and too warm temperature. I have had it happen three times over the year, the first two were due to using warm brine with not enough salt to top up the jars, and third time when the jar was nearly empty and I added too much brine. If worse comes to worst and the yeast keeps forming, you can drain the cabbage, rinse it, add fresh bine and keep it in the fridge.
It's important to distinguish between between kham yeast and mould -- if it looks like a mould, you have to throw the batch out, but generally the only thing that can go mouldy is any bits of cabbage that float at the surface, which is why these have to be removed promptly.